Résumé:
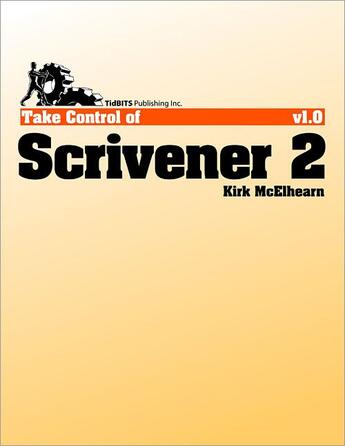
You'll learn how to handle each aspect of the flexible Scrivener manuscript-generation process:
Set up: Add reference materials to your project for easy access - videos, audio files, PDFs, Web resources, and more. And, if you've already written bits of text, you can import those items too,... Voir plus
You'll learn how to handle each aspect of the flexible Scrivener manuscript-generation process:
Set up: Add reference materials to your project for easy access - videos, audio files, PDFs, Web resources, and more. And, if you've already written bits of text, you can import those items too, including OPML outline files (such as from OmniOutliner Pro). Beyond importing from the Finder, you can use Mac OS X Services or Scrivener's handy Scratch Pad panel. Or, you can use the Import and Split feature to import a long document into multiple chapters or segments in Scrivener.
Organize: Use the Outliner, Corkboard, Collections, and Binder to mix and match your content into the perfect final arrangement. For example, you can:
Ignore the concept of a traditional file and break your manuscript into sections based on character, theme, topic, scene, or whatever you like.
Organize your manuscript linearly in the Outliner.
Use search Collections to search for a character, location, or phrase and see just those texts.
Organize ideas by dragging and pinning index cards on the Corkboard.
Write: Use Full Screen mode to hide distractions so you can wordsmith in peace; set up Typewriter Scrolling to keep your writing focus at the center of the screen, not the bottom; and view more than one part of your project at once, so you can write in one section while referring to another. Also, use Scrivenings view to write one thread of a story all at once in a single view, even if it is broken up in multiple scenes or chapters in the final manuscript.
Format: Optimize the formatting you see when you work in Scrivener for your eyes and your screen, and understand how this can differ from the formatting in a "compiled" version of your manuscript.
Revise: Use revision marking and the useful Snapshot capability to experiment with and compare the effect of different revision strategies, while still being able to roll back to a previous version.
Be Mobile: Work on your project using more than one Mac, or on an iPad.
Compile: Don't worry if the term "compile" is unfamiliar; it enables you to assemble your manuscript into linear order, in a form that can be printed or converted to common file formats. Scrivener supports RTF, Microsoft Word, Final Draft, PDF, and EPUB.
Specific questions answered in the ebook include:
What's the difference between a Scrivener folder and a file?
How do I change which columns appear in the Outliner?
How do I open the Inspector and control what appears in it?
What is the relationship between Corkboard index cards and Finder items?
How do I monitor character, word, or page count?
How do text format presets work?
How do I track changes when I revise a draft?
How do I change the color of a revision level?
What is the difference between an annotation, a comment, and a footnote?
How do I export in an ebook format from Scrivener?


